
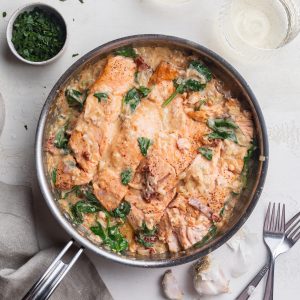
Perfectly seared salmon in a creamy sun dried tomato sauce, ready in under 30 minutes! This simple weeknight meal requires just one skillet and comes together in a flash. The perfect recipe when you’re craving seared salmon, with lots of delicious flavor!

Main Ingredients
Salmon Fillets – I used and recommend Atlantic salmon for this recipe. Atlantic salmon is buttery, flaky, and totally delicious. It’s pretty common, and shouldn’t be hard to find at your local grocery store or seafood counter. Sockeye is another very common type salmon, and will work in this recipe, but won’t cook up nearly as tender as Atlantic salmon. Sockeye salmon is quite lean, with a meatier consistency and a stronger fish flavor. Though feel free to use your favorite type of salmon in this dish!
Sun Dried Tomato Oil – Sun dried tomato oil is simply the oil found in a jar of sun dried tomatoes. Some sun dried tomatoes are sold dry and in bags, but for this recipe, you’ll want to get the jarred kind! That luscious oil the tomatoes are packed in is loaded with incredible flavor. However, if you can’t find sun dried tomatoes packed in oil, you can simply replace the sun dried tomato oil with a more mild olive or avocado oil.
White Wine – Any dry white wine will work in this salmon recipe! I used an extra dry Pinot Grigio and had perfect results. Though any white wine with either “dry” and/or “crisp” in the description will taste great. My favorite part of cooking with wine, is getting to pair a glass of it with my finished dish – yum!
Unsweetened Creamer – I used my dairy-free coffee creamer to make the sauce extra thick and velvety smooth. Though any cream/creamer will work here, just as long as it’s unflavored and unsweetened. If you’re not dairy-free, feel free to use heavy cream or whole milk instead.
Top Tips
- Serve up this simple one-pan salmon recipe any way you’d like! I enjoyed mine over some brown rice and OMG it was delicious. I even used the ready-to-eat microwaveable brown rice to make this easy dinner recipe even easier to make!
- If you have a cast-iron skillet, use it! Cast-iron does an incredible job at circulating heat and will create an irresistible golden crust on your salmon fillets. Though if you don’t have a cast-iron skillet, my recommendations are (in order) a stainless steel, ceramic, or non-stick skillet instead.
- Love the idea of a creamy sun dried tomato sauce, but don’t love salmon? Simply turn this salmon recipe into a one-pan chicken recipe! To do this, replace the salmon fillets with four thinly sliced chicken breasts. Cook them just as you would the salmon, only increasing the cook time to ensure the chicken is completely cooked through.
Adjust This Recipe To Your Dietary Needs
Make it Dairy Free – Either use my dairy-free coffee creamer like I did, or 1/2 a cup of full-fat coconut milk in place of the creamer!
Make it Non-Alcoholic – For a wine-free version, simply sub the white wine for 1/2 cup of chicken or vegetable broth, plus 1 tablespoon of lemon juice. The broth will add flavor, while the lemon juice brightens things up!
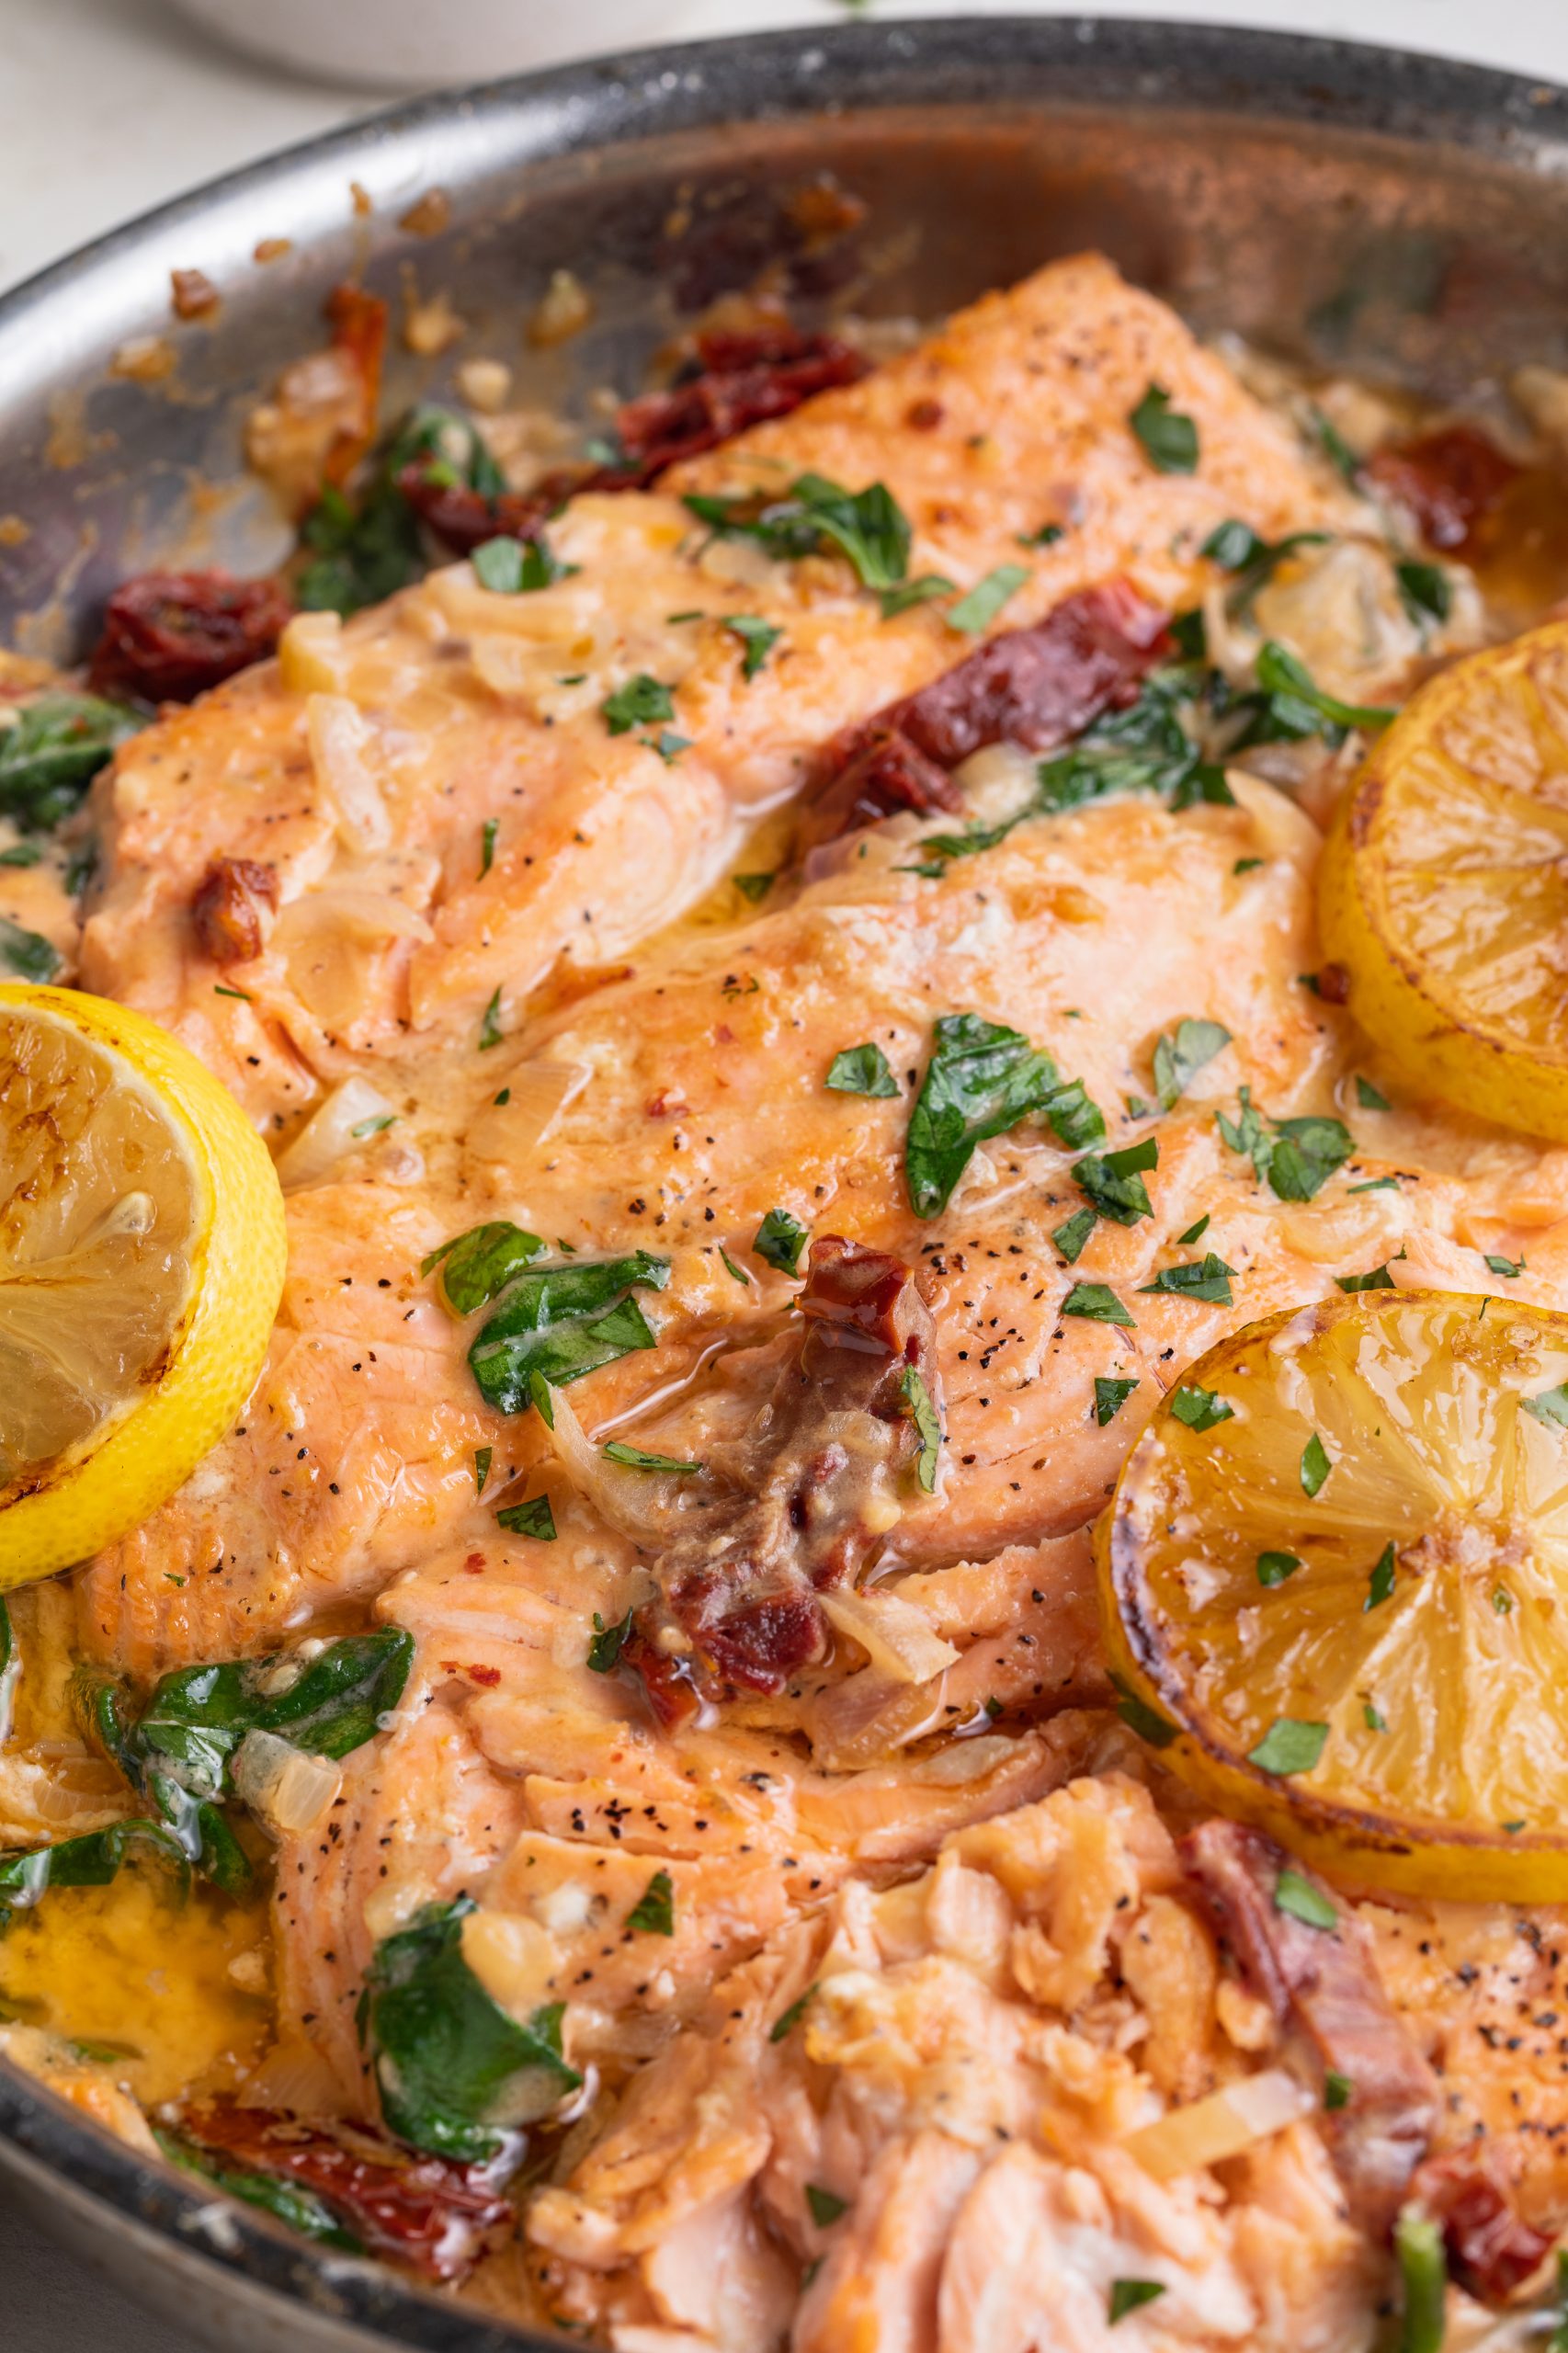
Creamy Sun Dried Tomato Skillet Salmon Recipe
Ingredients
- 4 salmon fillets, about 8 ounces each
- salt and pepper, to taste
- 2 tablespoons sun dried tomato oil, see Notes
- 1/2 cup sun dried tomatoes, sliced
- 1 shallot, chopped
- 6 garlic cloves, minced
- 1/2 cup dry white wine
- 1/2 cup unsweetened creamer I used my homemade non-dairy coffee creamer
- 2 cups baby spinach
- fresh parsley or basil, for serving
Instructions
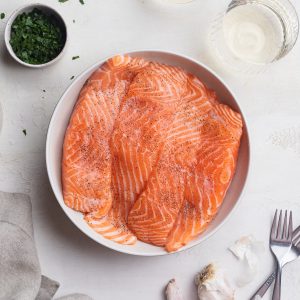
- Pat salmon fillets dry with a paper towel then evenly season with salt and pepper.

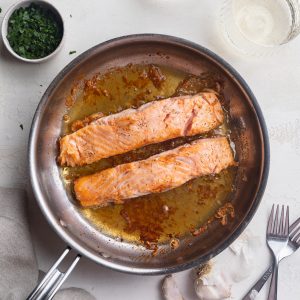
- Heat sun dried tomato oil in a large skillet over medium-high heat, place salmon fillets in skillet with the skin-side facing up. Cook salmon for about 5 minutes, then flip and cook for 2-3 minutes or until cooked to your liking. Remove salmon from skillet and set aside.
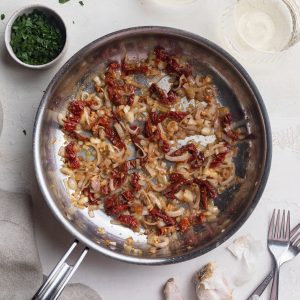
- Reduce heat to medium and add shallots, cook until soft, about 3 minutes. Add in sun dried tomatoes and garlic, cook for another 2-3 minutes.
- Pour in white wine and simmer for 3 minutes or until the liquid has slightly reduce. Pour in creamer and baby spinach, cook until spinach has wilted.
- Nestle salmon fillets back into skillet, spoon sauce over each fillet and simmer until warm – about 2 minutes.


